Image Import
Image Import will allow auctioneers to import images either by set inventory numbers or to a particular auction with lot #s. This tool will take you through a very straightforward 5-step process similar to Importing Buyers or Importing Inventory.
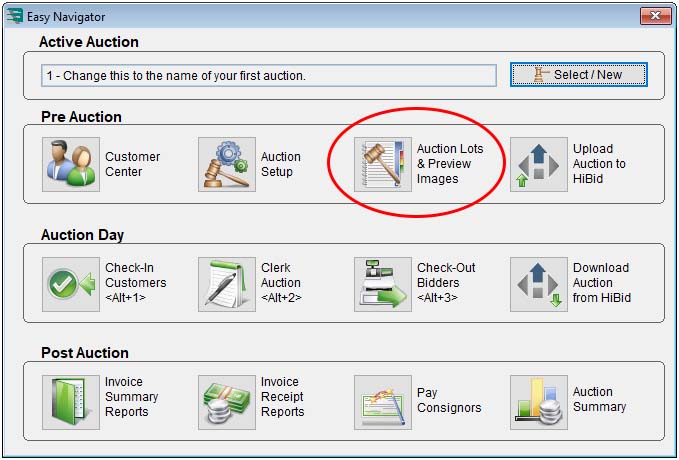
1. On the Easy Navigator screen (or Navigator toolbar), click the Auction Lots & Preview Images button.
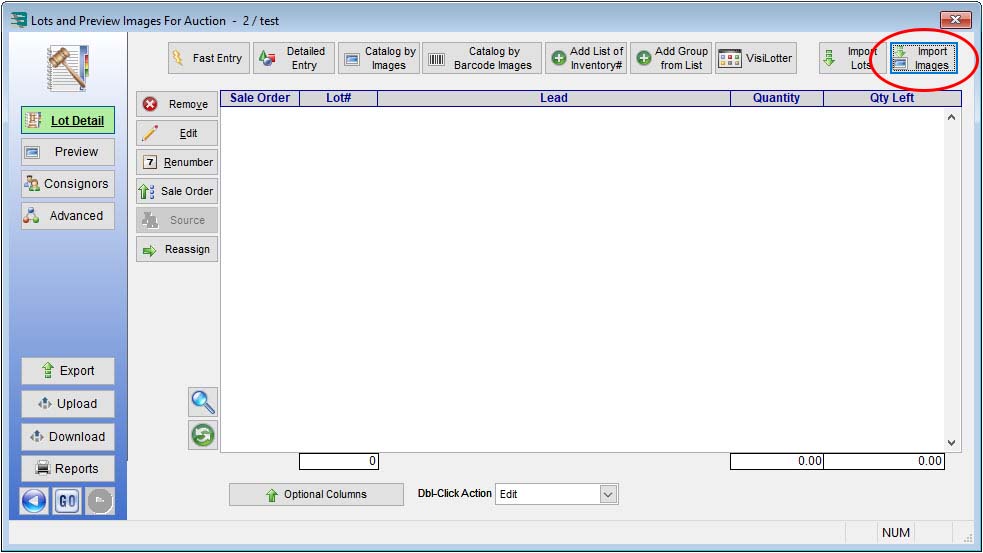
2. In the Lots And Preview Images For Auction window, click the Import Images button.
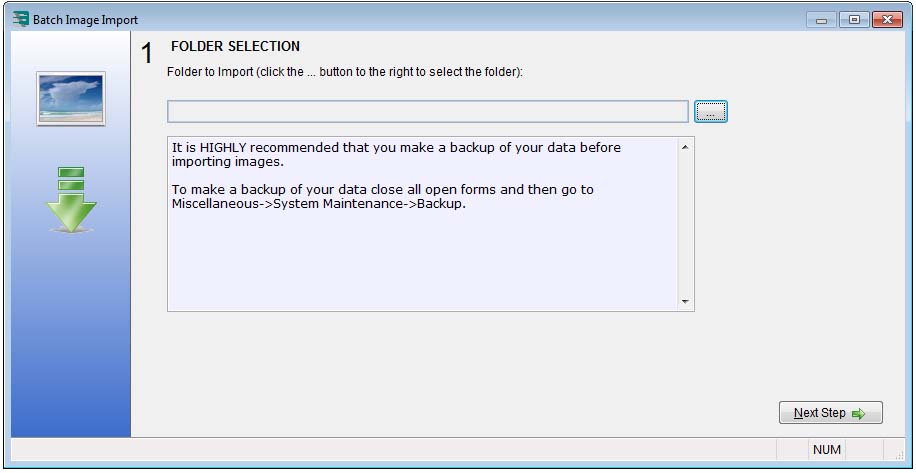
3. The Batch Image Import Step 1 window reminds you to make a backup prior to importing images. You will then need to click the Browse (. . .) button to locate the folder on your computer where your image are stored. (All of the images to import need to be in one folder.) After selecting the correct folder for import, click the Next Step button.
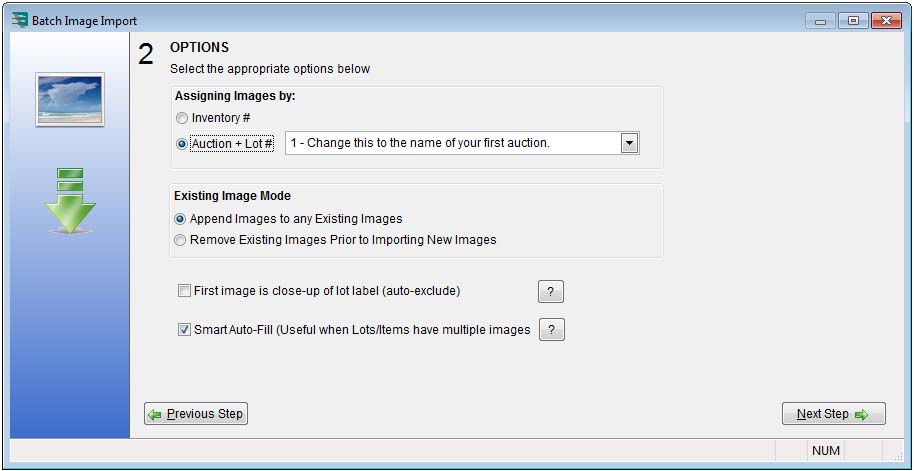
4. In the Batch Image Import Step 2 window, specify whether to use inventory or lot lumbers, and choose to append the images already in the system OR to overwrite the existing images. When you are finished with this window, click the Next Step button.
TIP: When importing images for lot numbers in an auction, be sure that you have the correct auction selected in the drop-down menu.
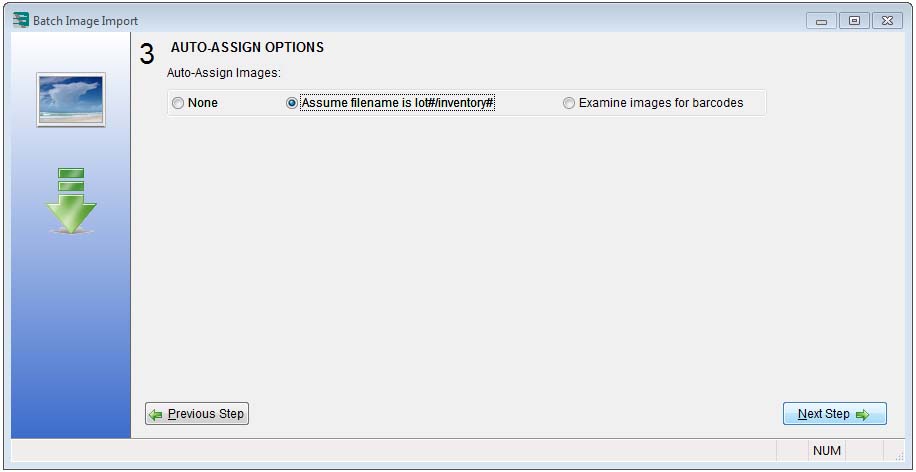
5. The Batch Image Import Step 3 window allows you to determine how the images will be assigned.
The Assume Filename Is Lot#/Inventory# option is very useful. If your images are named after the lot number they are associated with, the software will apply those images to the correct lot. For example, if you have four images for lot #1, you would name the images 1-1, 1-2, 1-3, and 1-4. This way, the software will associate every image with the “1-“ beginning as part of lot #1. Images for lot #2 would be named 2-1, 2-2, 2-3, and so on.
When you are finished with this window, click the Next Step button.
6. The Batch Image Import Step 4 window allows you to assign images to certain lot/inventory numbers (depending on your selections in the Batch Image Import Step 2 window). If you chose the None option in the Batch Image Import Step 3 window, you can choose to include or exclude that particular image’s import with the batch.
Options in this window:
- Associate the images with the correct lot numbers or inventory numbers by entering the number in the Lot#/Inventory# column to the right of the images
- Use the down arrow on your keyboard to quickly enter lot or inventory numbers
- Check or uncheck the Include checkbox on the right to include or exclude images from your import.
- Right-click an image to rotate the image
- Double-click an image to enter the Auction Flex image editing screen
- Use the editing screen for simple editing tasks, such as cropping, brightness, contrast, or rotation
When you are finished with this window, click the Next Step button.
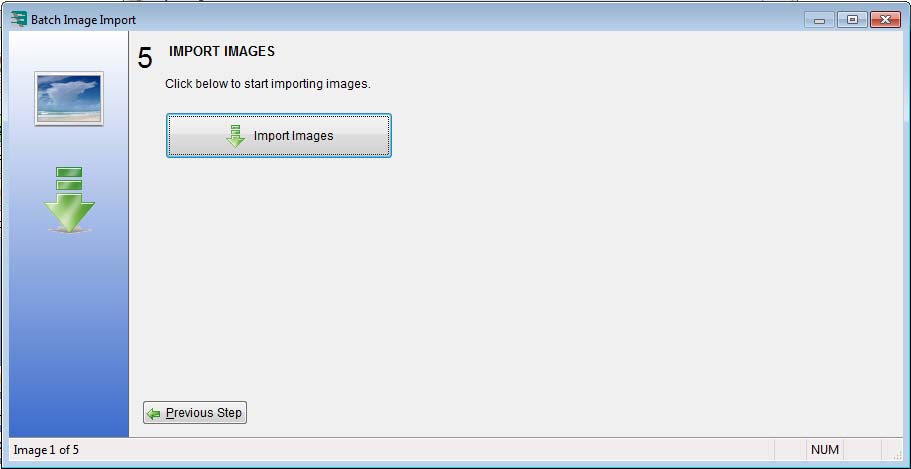
7. In the Batch Image Import Step 5 window, click the Import Images button.
